
DIY Polytunnel Kits for Smallholders: What You’re Really Buying

Can you build your own polytunnel? Yes, and plenty of smallholders manage it every year without much drama. A DIY polytunnel is more than a frame with plastic draped over it, though. Skimp on the groundwork and you’ll be pulling off a ruined cover before your second winter’s out.
So what’s in the box when one of these kits turns up?
What’s in the Box
Crack open a standard DIY polytunnel kit, and you’ll find galvanised steel hoops, base rails and door frames packed inside. Then there’s the cover. It’s a UV-stabilised polythene sheet, made to survive several years outdoors. Some kits chuck in anti-hotspot tape, along with wiggle wire for tensioning and ground anchors. Labour isn’t in the box. That’s the whole deal with buying a DIY polytunnel: you’re paying for materials, not a fitting team.
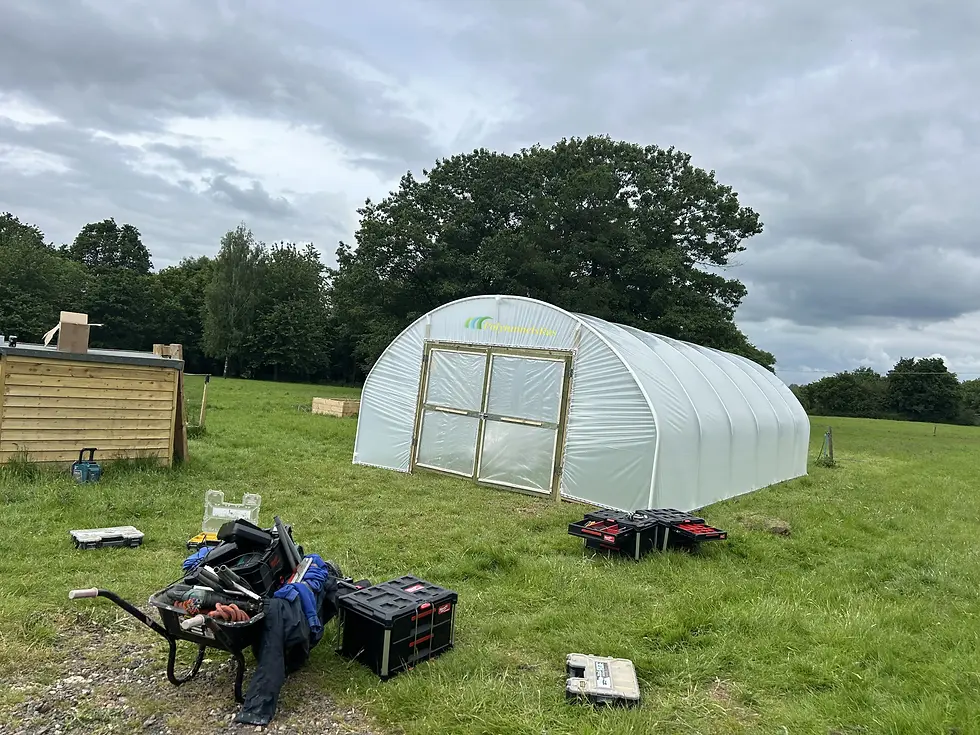
Putting up a domestic polytunnel on a level garden lawn is one job. Putting up a DIY polytunnel frame on a sloped paddock next to livestock fencing is a whole different ballgame. Many domestic polytunnels sold as kits are actually built for exactly that garden scenario, not for paddock ground. Check the kit spec properly before you order. Ground conditions change what you need.
How to Build a Polytunnel UK Growers Use
The sequence barely changes from job to job. Mark out and level your base first. Drive the hoops in at whatever spacing the manufacturer tells you. That’s usually somewhere between 1.2 and 1.8 metres apart. Fit the ridge pole and door frames next, then cover last, and only on a still day. Wind wrecks more DIY polytunnel builds than anything else. Get two people wrestling a big sheet of polythene in a 20mph gust, and you’ll likely tear it before it’s even fitted.
Sort your guttering out early. A DIY polytunnel guttering kit carries rainwater away from the base rails. Without it, your growing area turns into a bog every time it rains. This matters just as much for domestic polytunnels as it does for larger commercial builds. Thinking about a DIY polytunnel raised bed layout inside? Fix your drainage before you build the beds.
Doors fool people more than they expect. A DIY polytunnel door needs to seal tightly enough to hold the heat in. It still needs to open easily when your hands are wet. The same goes when your boots are caked in mud. Paddock spaces are often tight. Where livestock or machinery need room to swing through, sliding doors beat hinged ones every time on a DIY polytunnel build. Most domestic polytunnels never face this problem, since garden doorways rarely need to fit a tractor through them.
How Much Do Polytunnels Cost?
Everyone wants an idea of cost; it comes down to span width and length. A few hundred pounds will get you a small domestic polytunnel kit for a garden or allotment. Larger DIY polytunnel structures built for serious growing can easily cost four figures. Smallholders raising market crops or overwintering stock feed need a heavier-gauge frame and a cover that’ll last. That’s where the extra cost comes from.
Prices vary hugely across domestic polytunnels for sale online, and the cheapest listing isn’t always the best deal once you factor in how often you’ll be re-covering it. Anti-hotspot tape at every point the cover meets metal marks out the best domestic polytunnels. That friction point is where covers give way first. Miss that detail on a DIY polytunnel PVC or polythene build and you’ll see splits within a season, maybe two. It’s one of the most common mistakes on a DIY polytunnel build, and one of the easiest to fix before it happens.
How to Use a Polytunnel Once It’s Up
Don’t treat a polytunnel like a warmer greenhouse and stop there. Holding onto heat means nothing if you can’t get air moving through the space. Roll-up sides or door vents keep your crops from cooking in July. Venting needs daily attention through the growing season for most domestic polytunnels in the UK. It’s not just about remembering to water.
Choosing between DIY polytunnel ideas and a professional install usually comes down to several things: time, site conditions, and whether you trust yourself to get the levelling and tensioning right. Build a DIY polytunnel kit properly, and it’ll outlast a rushed job, whoever’s holding the spanner. This is the same whether you’re comparing small domestic polytunnels or larger smallholding setups.
Get proper figures for your own plot before you commit to either route. Get a quote at www.polytunnelsrus.co.uk and weigh it against what a DIY polytunnel build would cost once you’ve counted materials, tools and your own time.


Comments